In Part I, I discovered my monitor suffered from the capacitor plague. I ordered new capacitors to repair it and received them a few days later.
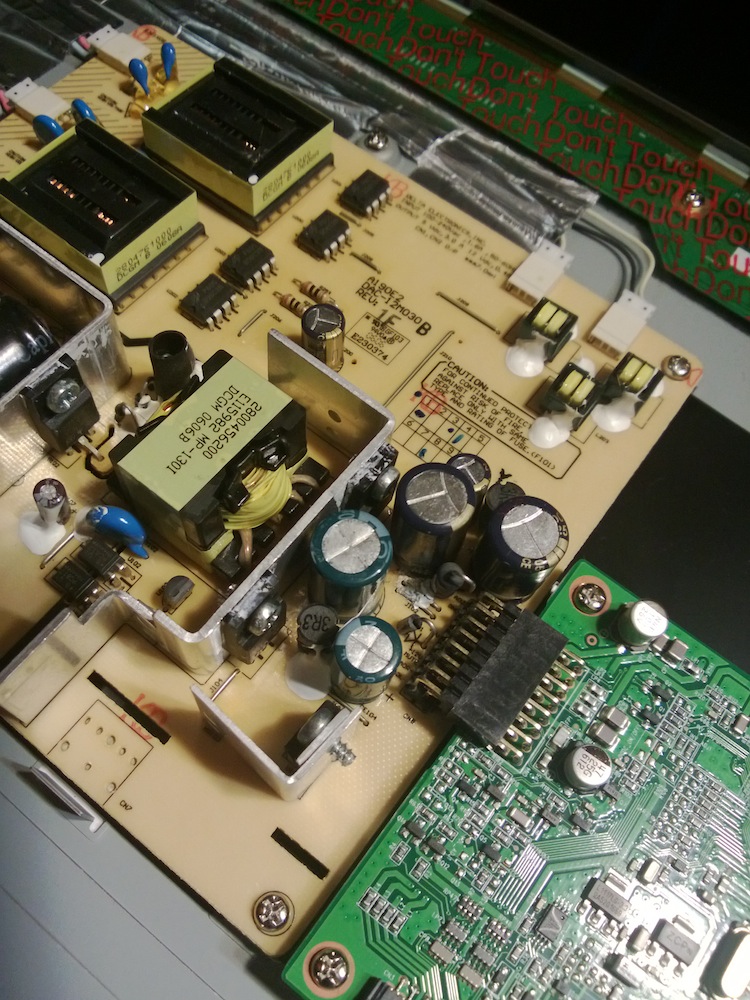
It only took about 15 minutes to desolder the bad capacitors and install the new ones. I only had one issue: the CapXon datasheet said that the 1000 µF capacitor was 13mm in diameter, so I ordered a 13mm replacement. I should have measured because the capacitors in the board were only 10mm wide. Thankfully there was enough space to squeeze the larger replacements in. You can see that none of the new capacitors have that puffed up look.
Here are what the four capacitors I removed looked like. The two smaller ones on the left are noticeably puffed out even on their sides from the internal pressures developed and the first of the larger ones has even blown its sealing plug out of the bottom of its case!

And here's what the 12-volt power supply voltage looks like after the replacement: clean 12 volts with no noticeable noise.
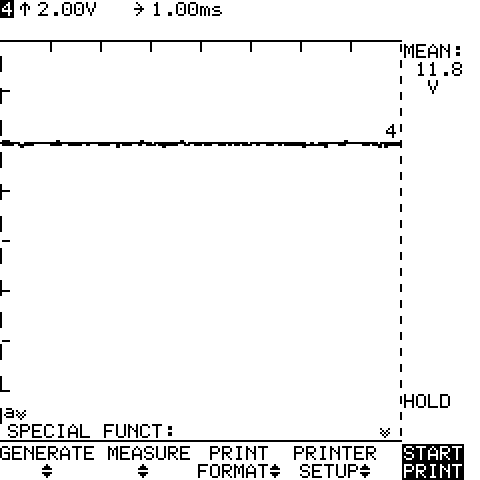
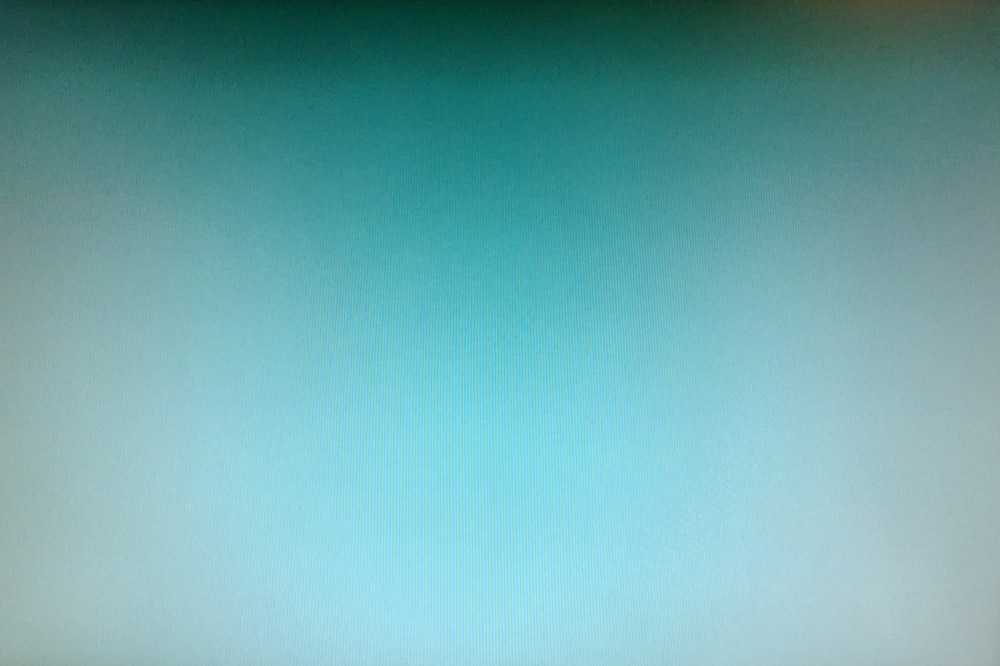
Look ma! No lines! Success!