I finally got around to building an optical interface so I don't have to use the hack I came up with previously to take screenshots or capture waveforms anymore.
While initially searching for information, I ran across basically what I wanted to make over at this page by Dominic Rawle. Note: his information appears to have gone missing.
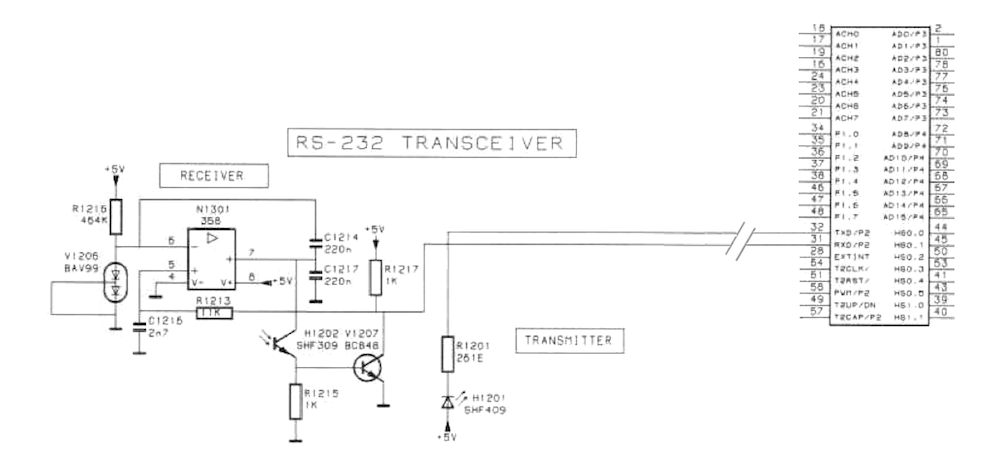
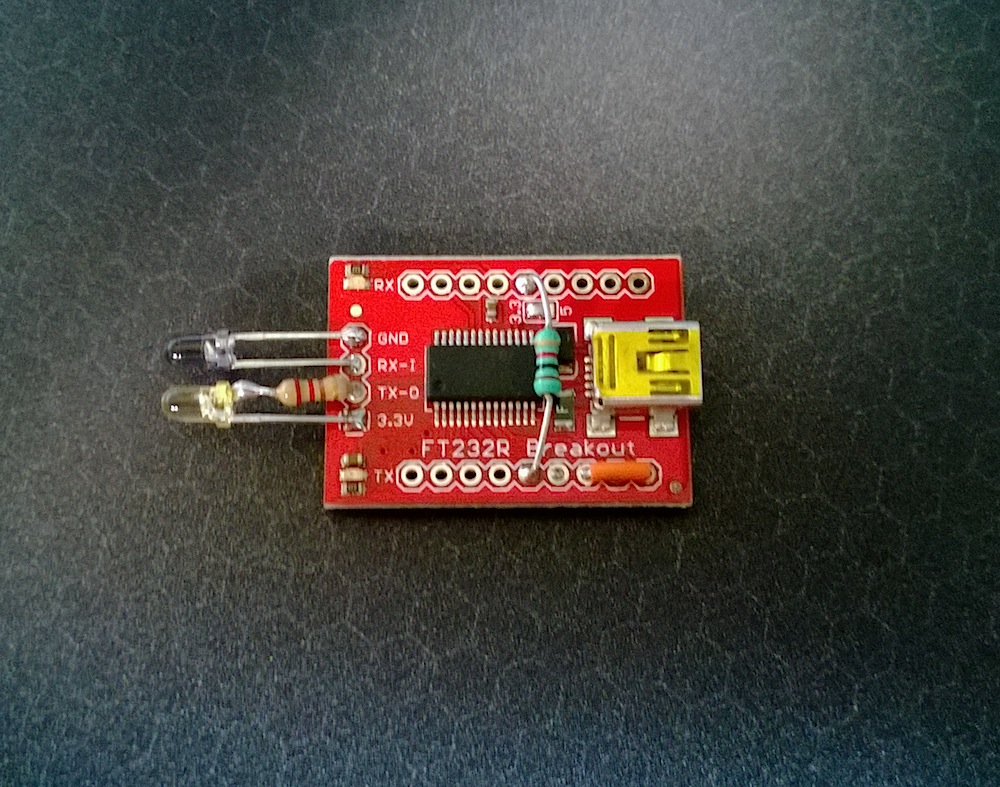
I decided to use the SparkFun FT232RL Breakout Board, which just happens to have the 4 pins needed for the optical components in exactly the most useful order. It makes for a really clean layout.
Also, I was already ordering a few things from DigiKey, so I picked up some T1 (3mm) optical components that are from the family used on the Scopemeter board itself. The LED was an OP266A and the phototransistor was an OP506A.
I used the same 220 and 1k ohm resistors as Dominic and followed his diagram. Note: the original version of the breakout board had a solder bridge selecting 3.3V for VCCIO by default. The current version has a switch instead. Make sure this is in the 3.3V position, not the VCC position.
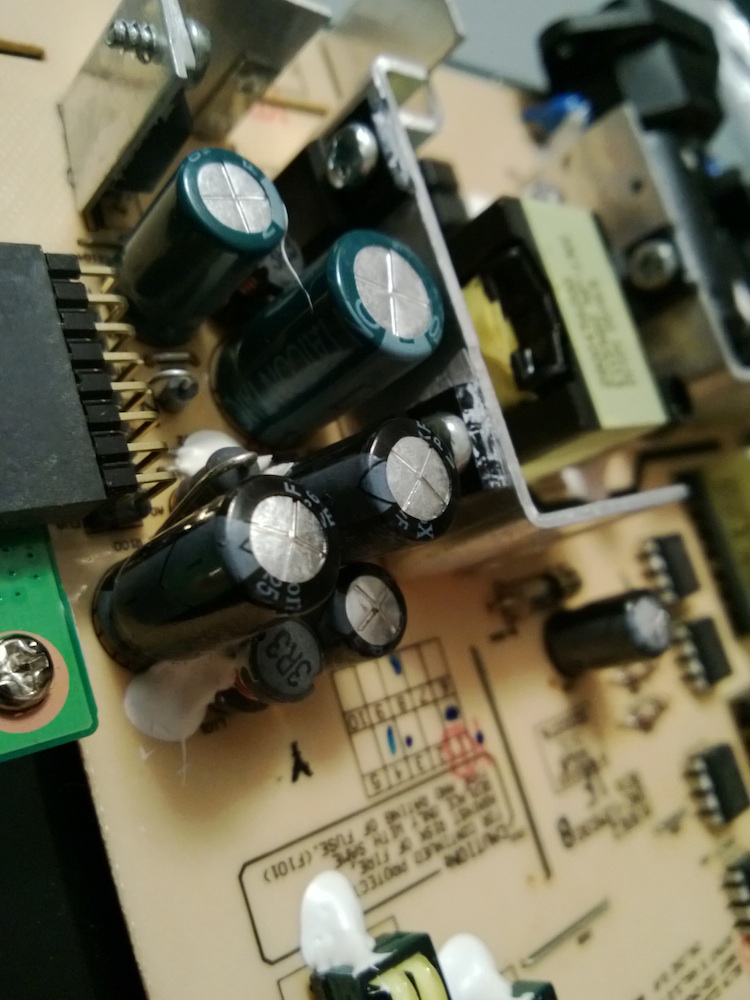
The photo below should be sufficient to wire up the circuit. There is a small piece of jumper wire connecting DCD and RI to GND. This is used to emulate the original cable. If you are using the genuine software, this is required for it to recognize the cable. Third-party software likely doesn't care.
Here's how it came out:
So, I got it wired up, tried it out, and I could receive but not send. After a little troubleshooting, I determined I had a dead LED. A little trick for testing IR LEDs — many cell phone cameras and cheap webcams don't have an IR filter and you can actually see the IR as a light blue. Try it with your TV remote to find one that works, then use it to look at the one that should be sending. I swapped the LED out and everything worked fine.
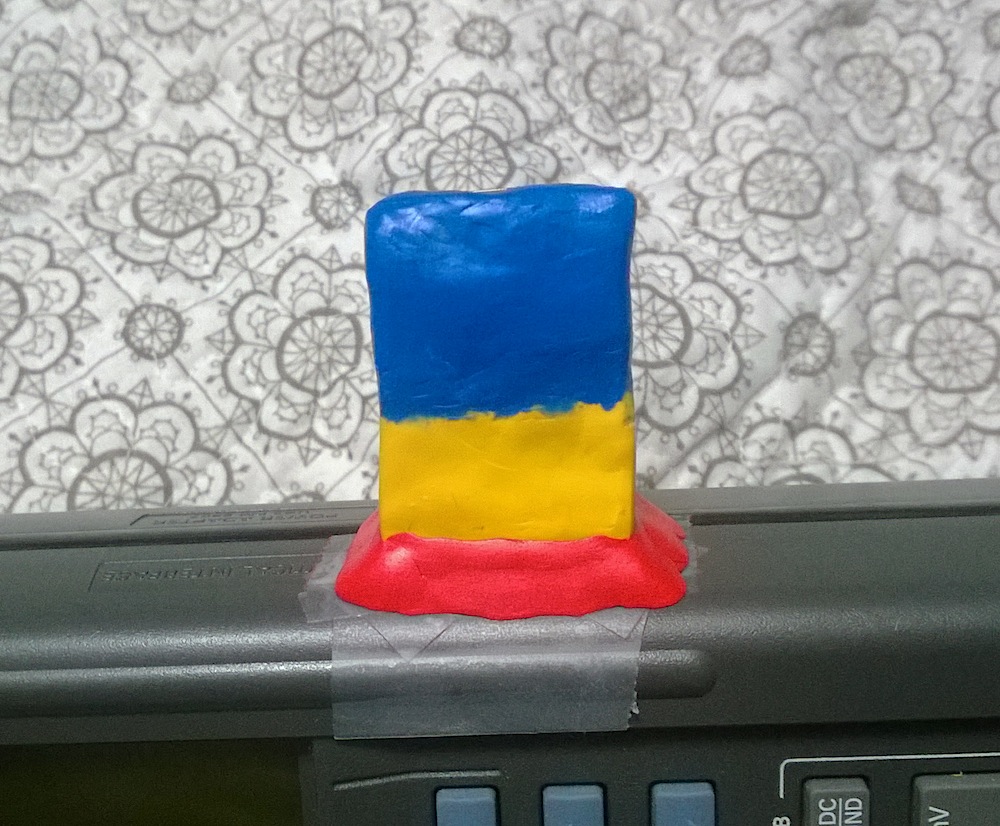
I really would like to draw up the plug and have someone 3D print a case for this. But for the meantime, I encased it in Sugru to at least make it durable. It's certainly not the prettiest, and I didn't have enough of any one color to make it all the same, but it's functional for now. I put tape down on the scope's case, then painted everywhere I didn't want it to stick with hand soap. This gave a pretty much perfect fit. Here's the thing curing on the scope, and then demolded.