When I first got an iPhone, one of the first app ideas I had was one that would let me take a trail map image, mark a few known coordinates, then use the GPS to display the blue dot like in the built-in Maps app.
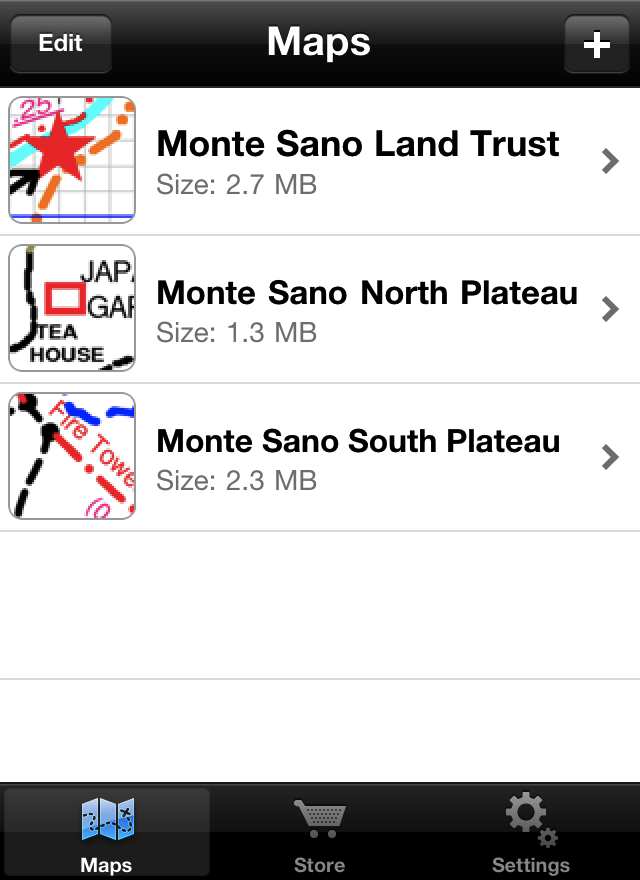
I've searched for something similar a few times, and had actually started doing some research into libraries for doing the math. This weekend, I thought I'd search one more time, and there was actually a free app recently posted called PDF Maps by Avenza. Of course, I downloaded it immediately.
Apparently, there are several standards for embedding the map projection data directly in PDF files to produce "geospatial PDFs." The trail maps I wanted to use were just plain PDFs and image files, so I needed a way to add the metadata to use them with this app.
After searching for a few minutes, I ran across GDAL, the Geospatial Data Abstraction Library. After reading up on the commands, it looked like it could do what I wanted, and a recent version added PDF support, however reading further, it was only to read PDFs, not to write them. Thankfully, it could output GeoTIFF format, which is the other format PDF Maps supports!
After a few hours of experimentation, I finally worked out a process that made maps the app was happy with. Here is an example:
convert -depth 8 -density 300x300 map.pdf map.png
gdal_translate  -a_srs '+proj=utm +zone=16 +datum=NAD27' \
-gcp 389 1121 544000 3845000 \
-gcp 2158 1121 545000 3845000 \
-gcp 389 2886 544000 3844000 \
-gcp 2158 2886 545000 3844000 \
map.png tmp.tiff
gdalwarp -co COMPRESS=DEFLATE tmp.tiff map.tiff
rm tmp.tiff
Since this map was a PDF and TIFF is a raster format, the first step is to rasterize the PDF. I used imagemagick's convert command to produce a high-quality 300 dpi PNG. (For some reason, imagemagick wanted to produce a 16-bit/channel PNG, which looked fine. However, feeding it to the next step made the final output grayscale, so I had to force the depth to 8-bit.)
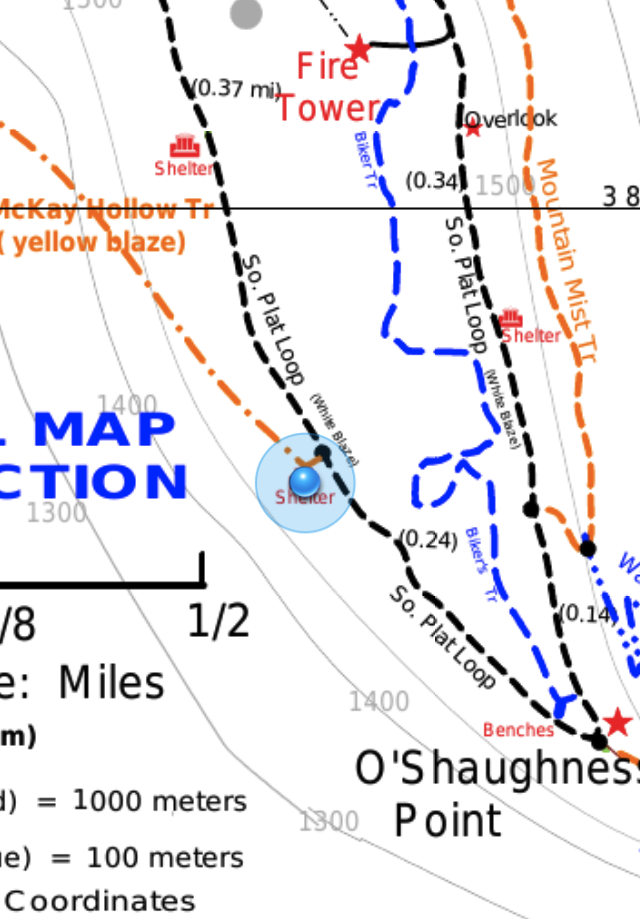
Next, I figured out the X and Y coordinates of some known locations on the PNG. This particular trail map was in the UTM projection with NAD27 as the datum. It also had 1000-meter grid lines, which proved convenient for picking out a few locations. In the second command, gdaltranslate is used to specify the source projection, here in PROJ.4 format for clarity, and to add the ground control points. As a note, the image coordinates are first, in X Y order, and the geographic coordinates come second in matching order, thus longitude comes first, followed by latitude! Or in the UTM case, easting then northing.
Finally, the gdalwarp command takes the metadata applied in the previous command and performs any mapping needed to fit the image to the model. This step produces the final GeoTIFF that can then be loaded into the PDF Maps app. Be sure to delete the intermediate tmp.tiff or you may end up with inconsistent results if you are trying to tweak your map.
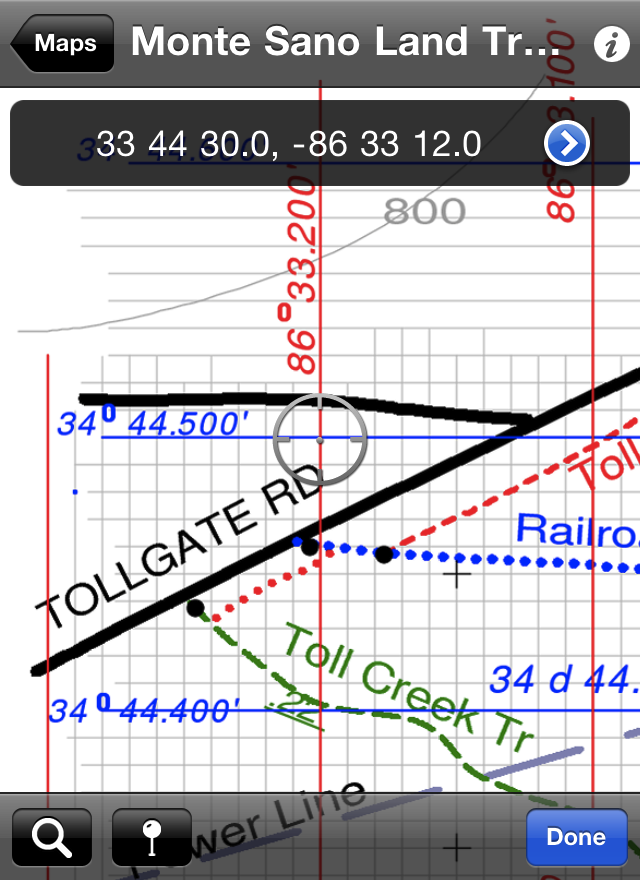
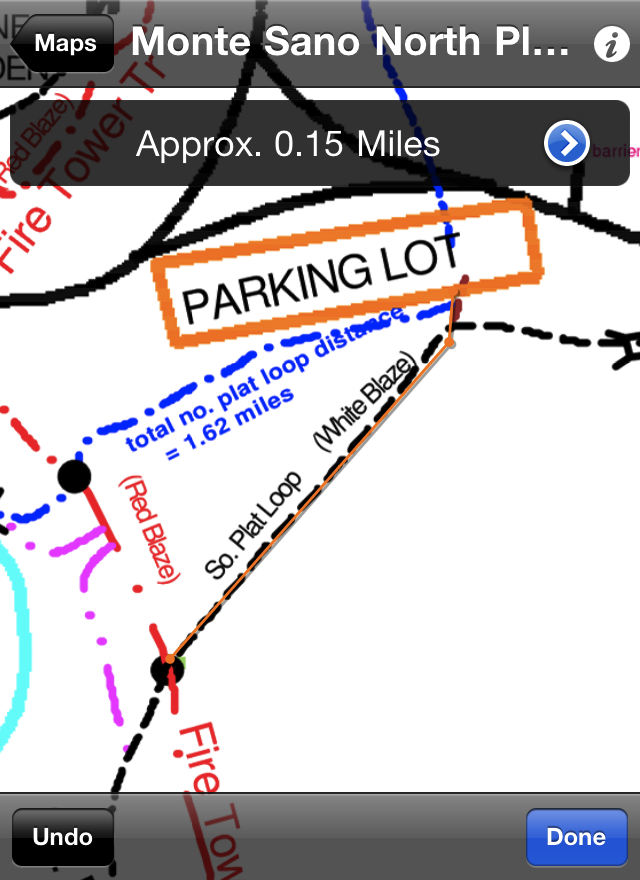
After doing all of this, I went out for a hike to try it out. As a testament to both the high-quality trail data (briartech is a great resource for maps of trails around the Huntsville, AL area) and the accuracy of the gdal calculations, my true location was always within the GPS error circle every time I checked, and in many cases was directly on the trail. I took a screenshot while I stopped in one of the shelters to duck out of some light rain. You can also use the app to make distance measurements or look up coordinates of a location on the map.
While it's not the easiest process, it does produce usable maps. However, I am still looking in to a way to modify existing PDFs to add the projection information, which would leave the data in vector format and make deep zooming less pixelated.